Tiles are a versatile and durable material that can add both functionality and aesthetic appeal to any room in your home. Whether you’re upgrading your bathroom, kitchen, or outdoor living space, a tile upgrade can transform your space and increase your home’s value. To ensure a successful tile upgrade, here are the essential steps to follow.
Step 1: Plan Your Design
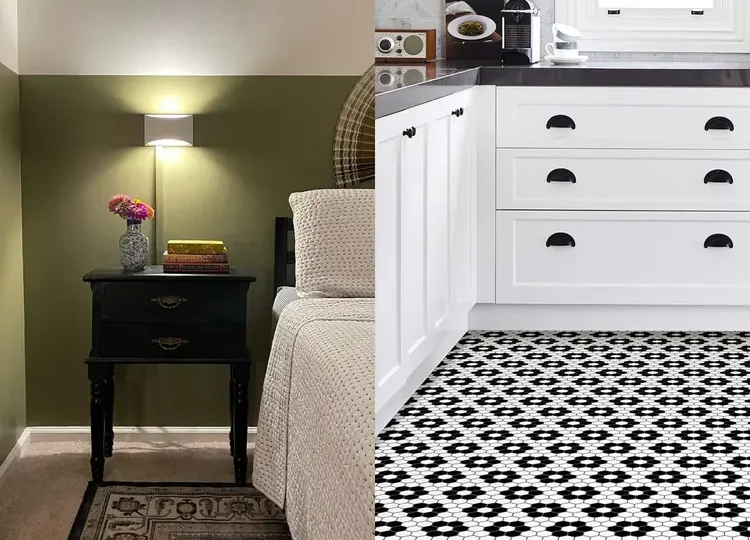
Before starting any tile upgrade project, it’s important to have a clear plan in place. Consider the size and shape of your room, your style preferences, and the functionality of the space. Look for inspiration online, in home design magazines, or consult with a professional designer. Choose a tile color, pattern, and shape that fits your vision and coordinates with your existing decor.
Step 2: Measure and Calculate Materials
Once you have your design plan, it’s time to measure your space and calculate the necessary materials. This includes the square footage of your space, the amount of tile needed, and any additional materials such as grout, adhesive, or edging. It’s important to factor in a little extra for waste and cutting, and to choose quality materials that fit your budget.
Step 3: Remove Old Tiles or Flooring
If you’re upgrading an existing tile or flooring, you’ll need to remove the old materials first. This can be a messy and time-consuming process, so it’s important to follow all safety protocols and protect surrounding areas from damage. You may need to rent special tools or hire a professional for this step.
Step 4: Prepare the Surface
Once the old tiles or flooring are removed, it’s time to prepare the surface for the new tiles. This involves cleaning, repairing any damage, and smoothing out any rough or uneven areas. You may need to level the surface with a self-leveling compound, or use a primer or sealer to ensure proper adhesion.
Step 5: Install the Tiles
With your surface prepped and your materials on hand, it’s time to start installing the tiles. Begin in the center of the room and work your way out, using spacers to maintain consistent spacing between tiles. Make sure to use the appropriate adhesive for your tile type and surface, and to follow the manufacturer’s instructions for installation. Cut tiles as needed to fit around edges or fixtures.
Step 6: Grout and Finish
Once your tiles are installed, it’s time to add the finishing touches. This includes applying grout between the tiles, which helps to seal the tiles and prevent moisture buildup. Choose a grout color that complements your tile color and use a grout float to apply it evenly. Wipe away excess grout with a damp sponge and allow it to dry for at least 24 hours. Finally, add any necessary edging or trim to complete the look.
In conclusion, a tile upgrade can be a great way to elevate your home’s style and functionality. By following these essential steps, you can achieve a successful and satisfying tile upgrade project. Whether you’re looking to update a single room or your entire home, a tile upgrade can add both value and beauty to your space.
